Microsoft Power BI enables you to transform your reports into rich visualizations and display them on digital signage screens. Charts, graphs, and dashboards are often at the heart of decision-making. However, one of the hardest aspects is finding a way to communicate these in a way that is meaningful. Incorporate these metrics into digital signage displays to offer these numbers in a fresh and creative way.
Microsoft Power BI refers to a collection of cloud-based apps and services which enable organizations to manipulate information from various sources. Power BI digital signage has multiple applications. This technology allows you to organize data and process it. As a result, you can transfer data visualizations onto digital displays. Consequently, you will have a digital dashboard that displays live data.
With digital signage, you can combine the effectiveness of the communication method with the power of your reports. This feature works well with MS Office, Google Suite, and Analytics.
Benefits of Using Power BI
Many businesses use Power BI for better business analytics and reporting. Some major benefits include:
- The ability to input large amounts of data than what is possible with other business intelligence platforms
- In-built machine learning features that help you analyze data and identify valuable trends, and make educated forecasts
- Powerful templates for visualizing data which improves data analysis
- Personalization features that enable you to create data models and dashboards to access data quickly
- Ability to set up alerts, so users remain updated on important measurements and metrics
- An intuitive interface that makes it easier to navigate and user-friendly than Excel spreadsheets
What You’ll Need:
- A compatible digital signage player e.g. Mvix, BrightSign, etc.
- Mvix CMS Software with a supported feature package
- Internet Connectivity
- Access to the MS Power BI Content App
Creating Microsoft Power BI Dashboards
To create Dashboards for use on the system, please refer to this guide.
Applying Non-Authenticated Microsoft Power BI media
In order to apply Public Facing, Non-Authenticated media, first, make the Dashboard available as a Public URL. Then, Apply the URL to our Web URL app for Non-Authenticated display, and Assign the media to a Schedule as you normally would.
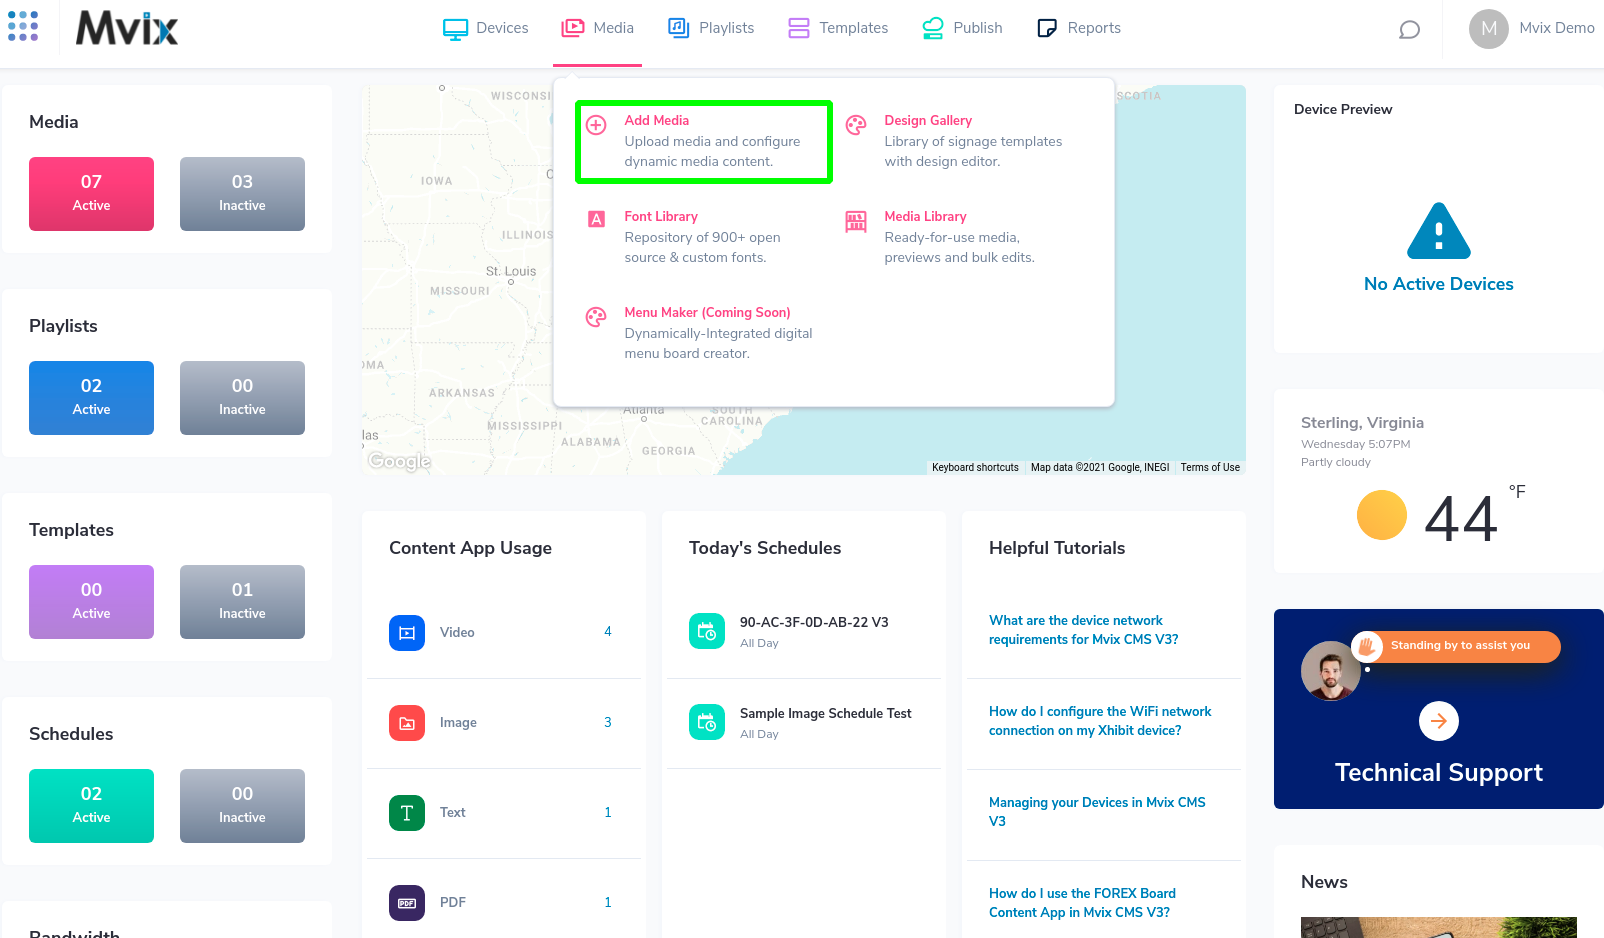
- Hover over the “MEDIA” tab and click “ADD MEDIA”.
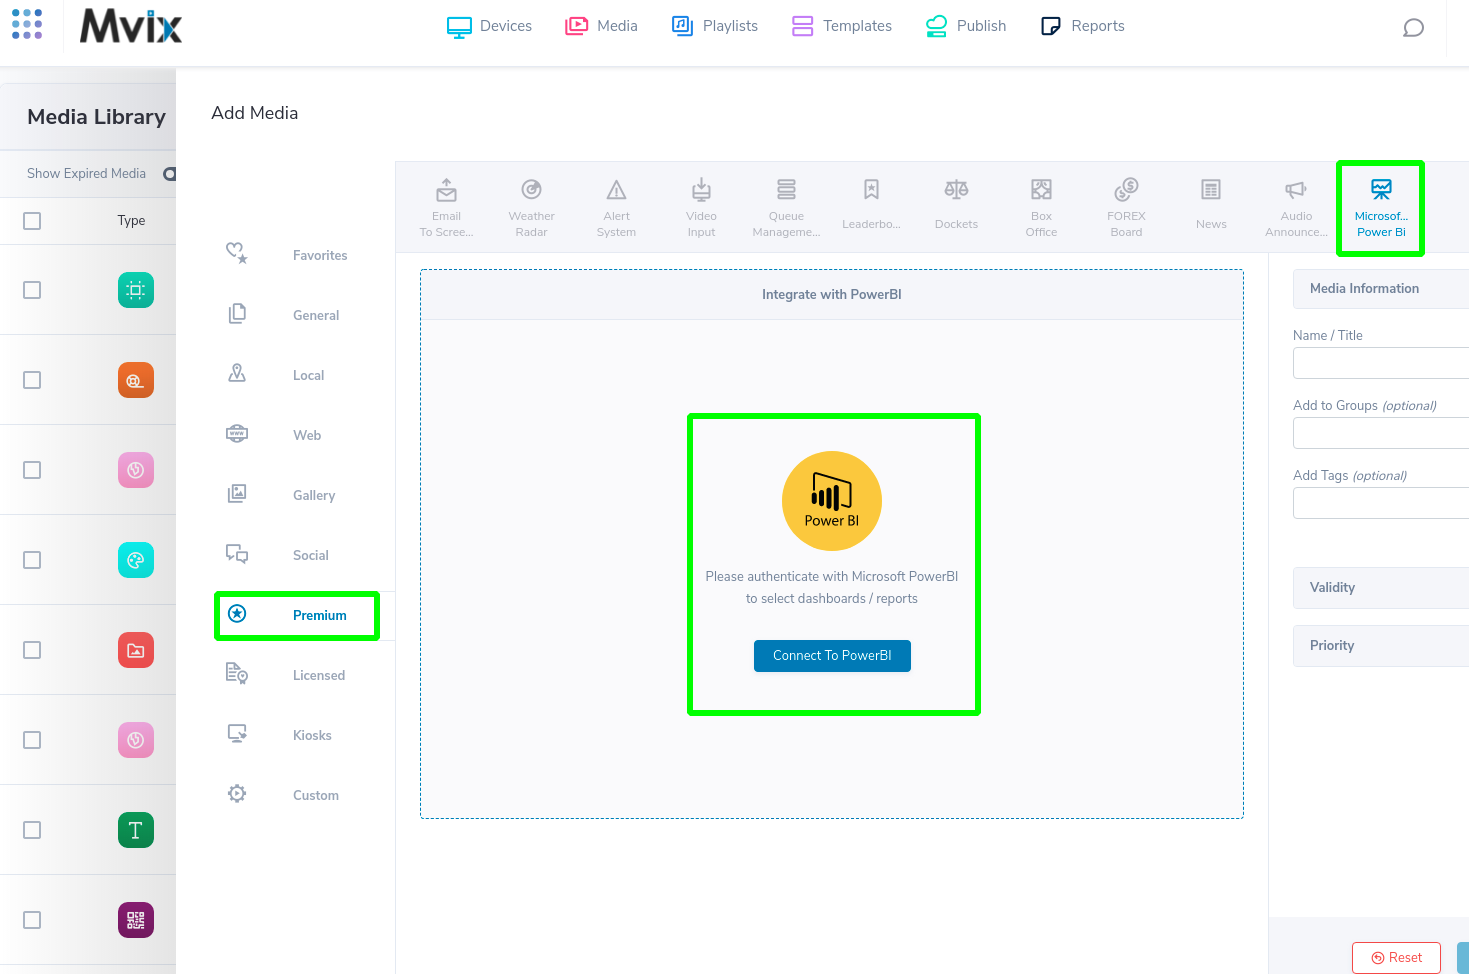
- Click on the “Premium” category.
- Click the Content App
- If this is your first time accessing your media, you will need to authenticate your account.
- Click the “Connect to Power BI” button to add your account

- If you’re Admin is uncertain how to perform the permissions change, please check this documentation from Microsoft: https://docs.microsoft.com/en-us/azure/active-directory/manage-apps/grant-admin-consent#construct-the-url-for-granting-tenant-wide-admin-consent
- Once you have authenticated your account, select “Get Dashboards” to view your dashboards and choose them for display.
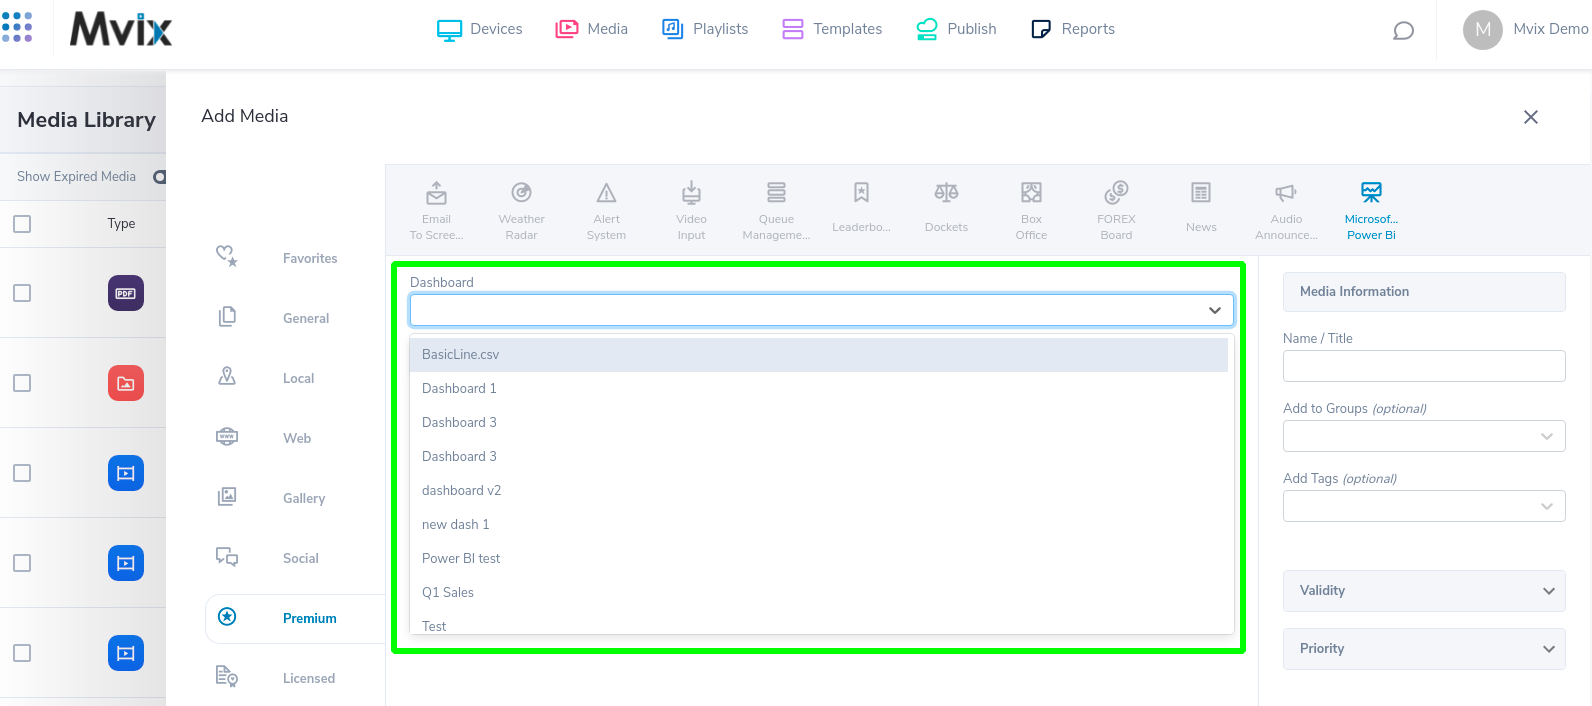
- Select your Dashboards and click on the Save button.
- Click on the “PREVIEW” button to see your document in the box to the right.
- Once you are certain your media displays correctly, Save the media and manage it as you see fit.
Digital Signage Forever
Designed for enterprise-digital signage deployments, our Signage Care plan offers a lifetime warranty, free digital signage players every 3 years, accelerated issue resolution, and premium content. Intended to enable high system uptime, operational efficiency, and continuous business innovation, the plan ensures proactive upkeep of the signage network. Learn more about Mvix Signature Care.
 Problems, Questions, Corrections: If you have any further questions, problems, or corrections you would like to see made, please open a support ticket.
