In this article, you will learn how to get started with your Mvix player. Your package should contain your Mvix order and can be removed from the box, as well as other parts packaged. Check to make sure all the needed parts or elements are there. For example, cables, wall mounts, and plugs. If all of the parts are not there, please reach out to your Solutions Consultant.
Once you are content that all elements are present, you can start setting up your Mvix player.
Setting Up your Mvix Player
Here are the steps to setting up your Mvix player. Below are images that will help to make the setup of your device easier:
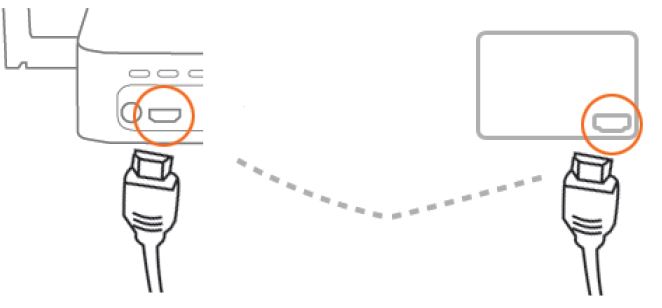
First, plug the HDMI Video Cable into the back of the Mvix device. Next, plug the other end of the HDMI Video Cable into the rear panel / HDMI port of your LCD TV / Device or Monitor.
 Please Note: Ensure you are using a good quality HDMI cable for your digital signage player. We also recommend using cords 10 feet or less but not to exceed 15 feet. HDMI extenders should also NOT be used as they can disrupt the data connection.
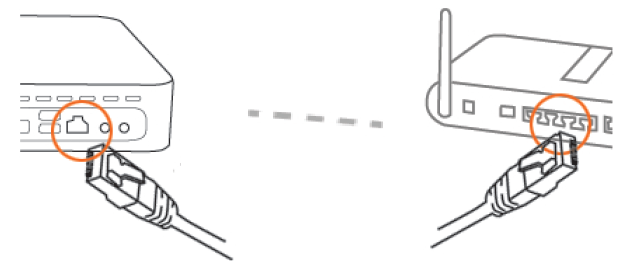
From there, connect the Network Cable to the Ethernet port on the back of the media player. Finally, connect the other end of the Network Cable to your Network switch/router.
This is a pretty straightforward process, but if you need assistance don’t hesitate to contact us or open a ticket with our tech support. Our support team is here to help no matter what the issue is.
Important Note: When installing your player, you should always place device it in a easy to access location. This way, in case you do need to replace or troubleshoot the device, you’ll be able to do so without too much hassle.
Learn More
For more information please watch the video below:
Congratulations for setting up your Mvix player. Now, log into your Mvix CMS account to add content to your player.
Problems, Questions, Corrections: If you have any further questions, problems, or corrections you would like to see made, please open a support ticket.
