Video walls are a collection of screens that are combined/tiled together to create one large display. In this article, you will learn how to set up a Video Wall in the CMS in three easy steps:
- Creating a template for your video wall
- Assigning rows and columns for your video wall layout
- Create your media to add to your template
Before setting up your video wall template, it is important to analyze three important factors for your video wall:
- Determine your needs. Before doing anything else or making any purchases, determine the purpose of your video wall. This ensures your system setup will meet your goals.
- Consider the number of images you want to display. Determine how many images you’ll show at once. This includes whether the video wall will be one single large image across the wall, multiple video sources using one image per screen, or a combination of the two. Also determine the source and type of video images used. These can be Blu-Rays, DVDs, cable/satellite TV, or digital video files from a hard drive.
- Understand the importance of content. Determine the content to be shown and how it’ll look on the video wall. This includes ensuring everything shown is in proper ratios and resolutions.
 Note: Media can be expanded to cover all of your screens or each screen can display a different media content to give multiple engagement points for your audience.
What You’ll Need:
- A compatible digital signage player e.g. Mvix, BrightSign, etc.
- Please Note: Due to voltage variations across cables and accessories, we do not recommend using any third party HDMI accessories.
- Mvix CMS Software with a supported feature package to use the template editor.
- Internet Connectivity
Video Tutorial
Connecting Your Video Wall Player To Your Screens
Before you start on your video wall content on Mvix CMS, you should ensure your physical setup is ready. The physical aspects of your Video Wall are the screens, the mounts, & the players. We recommend the following:
Mounts
We recommend using a pop-out mount. These mounts are designed to pop in and out with 8 point tool-less micro adjustments to ensure a clean and quick installation. Screens can be assembled and seamlessly aligned in minutes, with continued access for servicing and maintenance.
Player
Once your displays are mounted, you’ll need to connect your players. Depending on the amount of screens you are using (e.g. 2, 4, or 6 screens). The standard setup is:
- Mount your videowall player in a location close to your displays
- Plug in an HDMI cable to the player
- Connect the other side of the table to the corresponding TV.
- For videowalls, outputs are labeled by a number. This number will correspond to what will be used on Mvix CMS.
- Repeat steps 2 & 3 as necessary for the remaining TVs
- If you are using a wired device, connect a network cable to the back of the digital signage player from your network switch/router.
- Lastly, connect your power adapter to the signage device and the plug to the wall socket.
Important: When connecting your player to your displays, we recommend HDMI cables of 10 feet but no longer than 15 feet. This is to ensure data transfer is not interrupted. You should also NOT use any HDMI extenders as this will severely disrupt the connection.
Once your video wall has been properly setup, you’ll be able to create and manage your content on Mvix CMS by following the steps below.
Creating Your Video Wall Zones
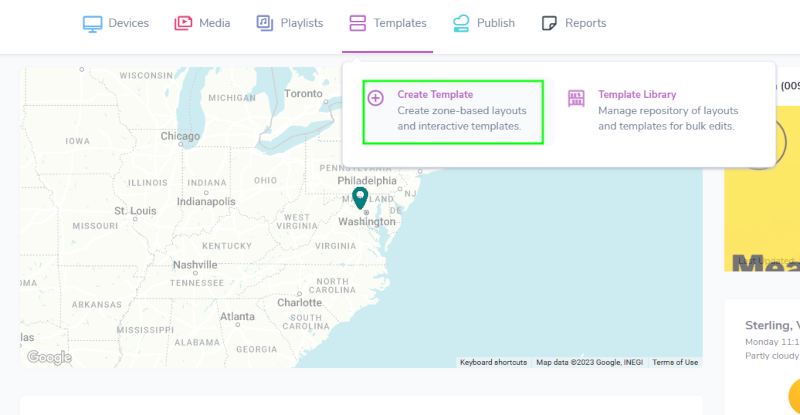
- Hover your mouse over the “Templates” tab, and click “Create Template”.
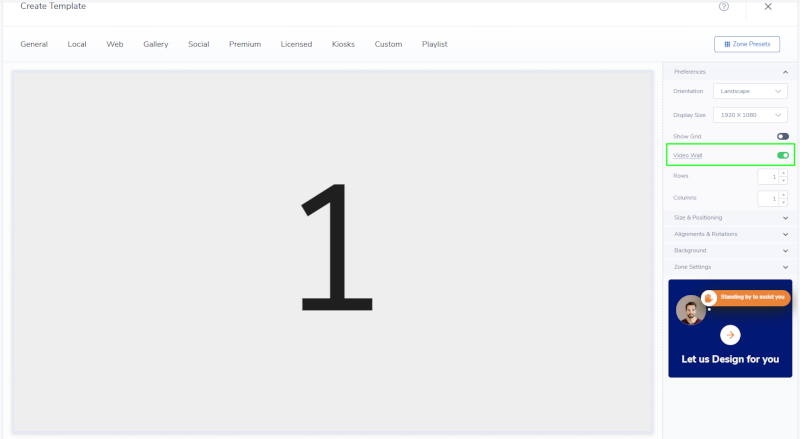
- Next, under “Preferences”, switch the toggle for the video wall to change it to active (green).
- Additionally, under “Preferences:
- Change the number of rows and columns for your video wall layout. Rows and Columns are dependent on the number of screens you have on your video wall.
- Change the orientation (portrait or landscape) of the screens that you are using. If your screens are landscape, your template should also be landscape and vice versa. (Changing your orientation applies to all screens, or rows and columns)
- Select your display size (resolution of the screen attached to your video wall). (Changing your display size applies to all screens, or rows and columns)
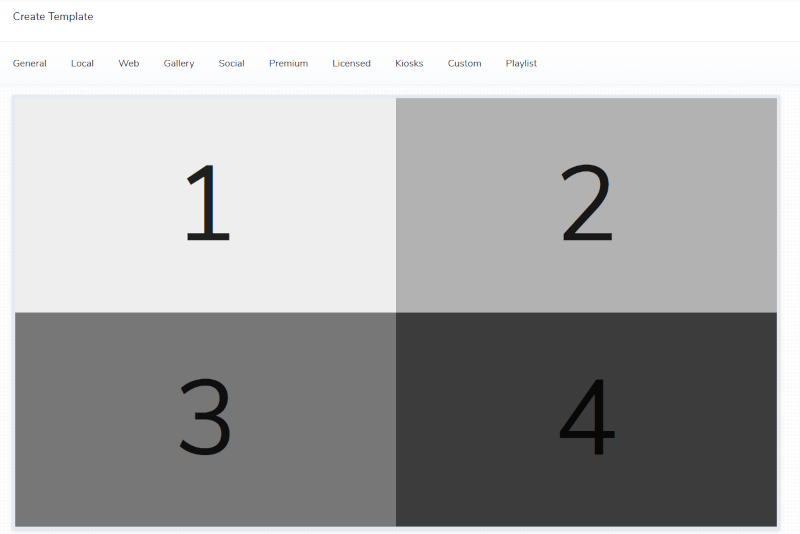
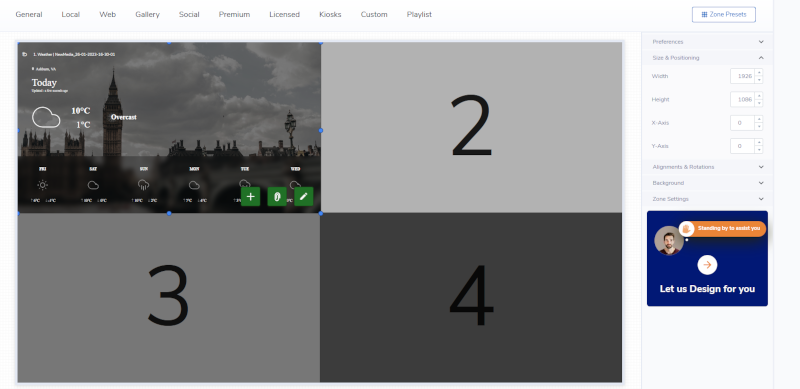
- For example, if your video wall features four screens, two in each row, the number of rows will be changed to 2 and the number of columns will be changed to 2. You will also change your orientation to landscape to reflect the layout of your screens.
- Once your selection is made, your template will update to your video wall layout. Each screen will be labeled depending on the number of screens you have on the video wall. For example, if your video wall has four screens, the layout will feature two rows and two columns, 1-4.
Creating and Adding Video Wall Media to Template
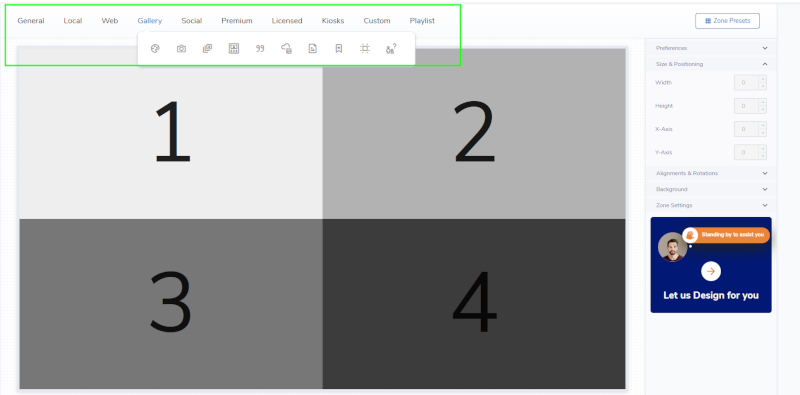
- Once your video wall zones have been created, now it’s time to add your media.
- Hover over a category on the toolbar located above your template, click which media you would like to use, and add to your template.
Note: If you need help creating your content, type the content app name in our KB search bar to find the corresponding KB to assist you.
- After you create and save your media, it will be added to your template. There are multiple options for displaying your media and you can customize it to your choosing.
- One option includes each individual zone displaying different media giving your audience four different pieces of content to look at.
- To do this, expand your media to cover one zone, then create and add other media to expand and cover the additional zones.
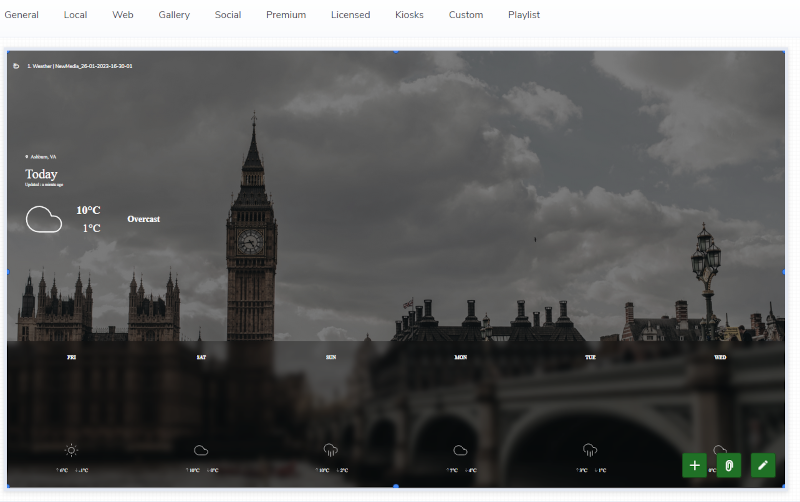
- Another option is for one media content to display and all of your screens. To create this, expand your media to cover all of your zones to fit your screens.
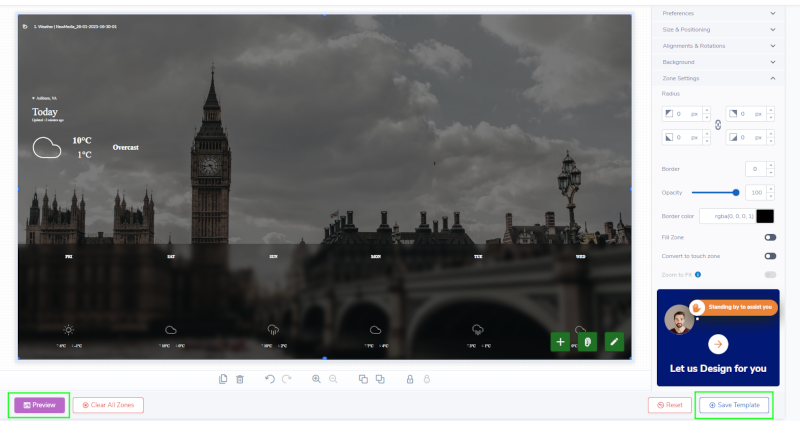
- Once you have added all of your media and added to your zones, preview your media by clicking “Preview” to ensure it shows to your liking and click “Save Template” to add to your Media Library.
Features of the Mvix Video Wall
Because of their size and clarity, this solution has a WOW factor that makes them very effective for marketing messages and branding. It’s important to note that the content displayed is key in reaching messaging goals for the video wall.
The purpose of using video walls varies depending on the industry. Industries that can benefit from video walls include corporates, hospitals, retailers, government offices, churches, schools, casinos, and hotel receptions. This solution encourages interactivity as it engages consumers and employees with visuals and graphics. Indeed, touch screens with large displays offer an increase in engagement. Furthermore, customers feel more engaged when a touch on the screen triggers information. Therefore, it also improves the user experience.
More features of a video wall includes:
- Easy to design and implement multi-screen layouts
- Supports native 4K content for crisp visual quality
- Includes over 150 content apps and data integrations
- Editable elements such as colors fonts, and animations
- Manage remotely over the Internet from anywhere
- Eliminate costs associated with printing new posters
- Show unique content for a more personalized digital experience
- hundred of customizable templates to engage guests and members
- Managed from the same platform as traditional and interactive displays
- Multi-zone screen layouts to multiply content delivery
Let Us Do It For You!
Fresh and relevant content is the cornerstone of a successful digital signage campaign. Don’t have time to manage your Digital Signage System or do you want your screens to look professionally designed? Let us do it for you. We will manage your digital signage screens for a fraction of the cost and minimize downtimes. Learn more about our Managed Service Plans.
